
· June Merrick
How to Use Stitch Markers in Knitting and Crochet
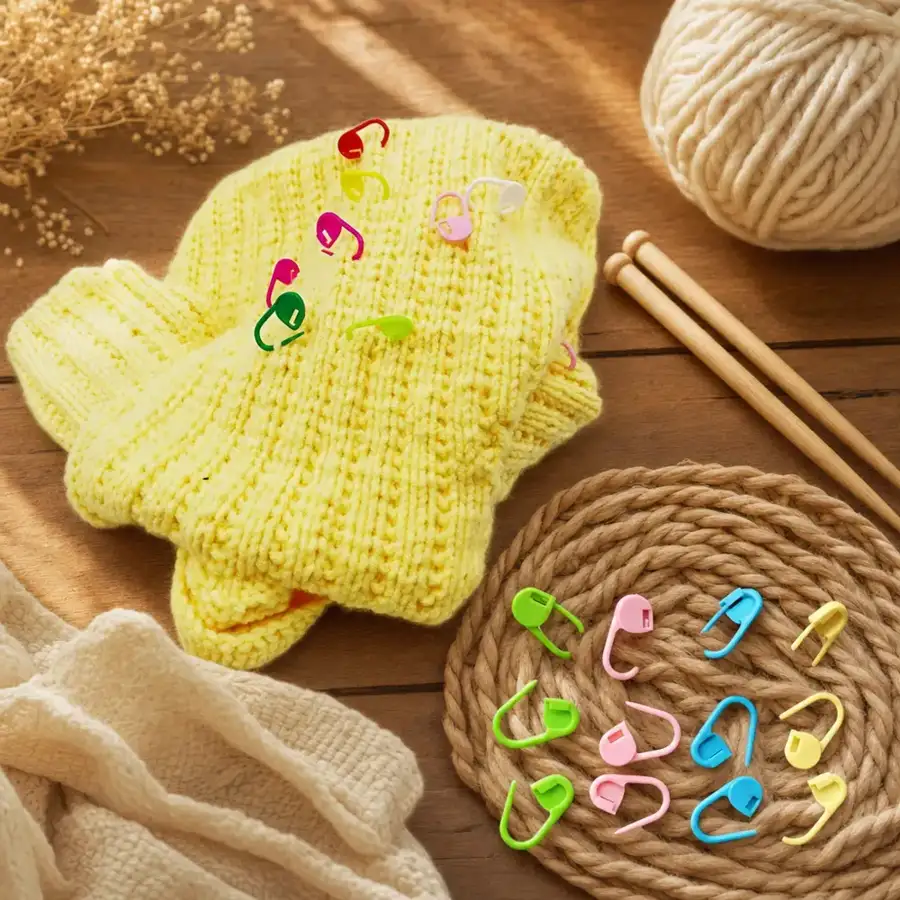
Markers are the rare knitting tool with no learning curve and a big payoff. But "put a marker there" hides real technique — where exactly is "there", which side of the stitch, and when do you move it? This guide walks through the four placements that do 90% of the work, plus the mistakes that make markers lie to you.
Job 1 — Mark the start of the round
Anything worked in the round — hats, sleeves, amigurumi, top-down sweaters — has an invisible finish line, and the marker is it. In knitting, slip a closed or locked marker onto the right needle just before the first stitch of the round; it rides between the last and first stitch forever after, and you slip it from needle to needle each pass. In crochet, clip a locking marker into the first stitch of the round itself, and move it up into the new first stitch each time you complete a pass.
The crochet version has a subtlety knitters never face: amigurumi worked in a spiral has no seam at all, so the marker is the only record of where rounds begin. If you unclip it to work the stitch it sits in, re-clip it into the new stitch immediately — the two-second discipline that keeps a 40-round toy on count.
Job 2 — Fence your pattern repeats
A 240-stitch lace round with a 20-stitch repeat is really twelve 20-stitch problems standing in a row. Place a marker at every repeat boundary and each problem stays 20 stitches wide: when the count comes up one short, the error is inside the repeat you are working, not somewhere in the 240. You verify 20 stitches, not the whole round.
Color has a role here. Keep your round-start marker one fixed color — say yellow — and your repeat markers all another. When two marker jobs share a color, sooner or later you will treat a repeat boundary as the round start, and the pattern will drift one repeat sideways. An assorted pack like our 50-pack of locking markers exists precisely so each job can own a color.
Job 3 — Flag your shaping
Increases and decreases are events, and fabric hides events fast. Clip a marker into the stitch you increased into, and questions like "how many rows since my last sleeve increase" become countable at a glance — count the rows above the marker, done. On paired shaping, mirror the colors: same color on both sleeve seams means your eye can compare the two edges instantly.
Knitters also use a fabric-clipped marker to mark the right side of stockinette or garter, where the two faces are easy to confuse in low light. One marker near the cast-on, clipped on the right side, settles the question for the life of the project.
Job 4 — Freeze accidents
A dropped stitch is only an emergency while it is free to run. The moment you spot one, clip a locking marker through the loose loop and lock it — the ladder stops there, guaranteed, until you come back with a crochet hook. This is the job that specifically requires a locking marker: a ring cannot hold a loose loop, and a split ring can shake free in the project bag.
Crocheters get the same insurance on every put-down: clip the marker through the single live loop before the project goes in the bag, and the work physically cannot unravel. We tested this by shaking a bagged dishcloth project for a minute with a locked marker in the loop — nothing moved. With the loop left bare, it pulled out past the previous row almost immediately.
Quick placement reference
| Job | Knitting | Crochet |
|---|---|---|
| Round start | Marker on needle before stitch 1 | Clip in first stitch, move up each round |
| Repeat boundary | Marker on needle at each boundary | Clip in last stitch of each repeat |
| Shaping | Clip into the increase/decrease stitch | Clip into the shaped stitch |
| Rescue / put-down | Clip through the dropped loop, lock | Clip through the working loop, lock |
The three mistakes that make markers lie
First: clipping through one leg of the stitch instead of the whole stitch. In loose gauge, a one-leg marker can pop sideways to the neighboring stitch and quietly move your "fixed" reference point. Clip under both legs of the V.
Second: improvising with scrap yarn or paper clips mid-project "just this once". Scrap yarn unties, paper clips snag plies, and both teach you to distrust your own markers — see our style-by-style comparison on the locking markers page for what each alternative actually costs.
Third: rationing. With around 50 million Americans knowing how to knit, crochet or craft with yarn (Craft Yarn Council, 2022), marker makers long ago figured out how to make them cheap — good locking markers cost about 30 cents each in a 50-pack. Marker-per-job generosity is affordable; recounting a 300-stitch row is not.
Once placement is automatic, the next upgrade is tracking rows as reliably as you track stitches — that is what an on-needle row counter is for. And if your markers may as well be beautiful, the enamel charm sets lock in exactly the same way.